Welcome to the CTMH Australasian Layered Flowers blog hop, if you arrived here from Doreen's blog you are in the right place. If you arrived here by chance I hope you find some inspiration from my projects and you can continue the hop by clicking on the link at the end of this post.
The layered flowers thin cuts will be a great addition to your collection of dies, there are 17 different shapes in this set of flowers and leaves. These cut beautifully with CTMH cardstock with just one pass through my Cuttlebug. I am sure you will be using them over and over again!
All little girls love a sleep over with their friends and it looks like Mia and her friend had a great time. After cutting the flowers I dry embossed them to give them some texture, I did tone on tone stamping on the pink cardstock and I am so happy with how it looks.
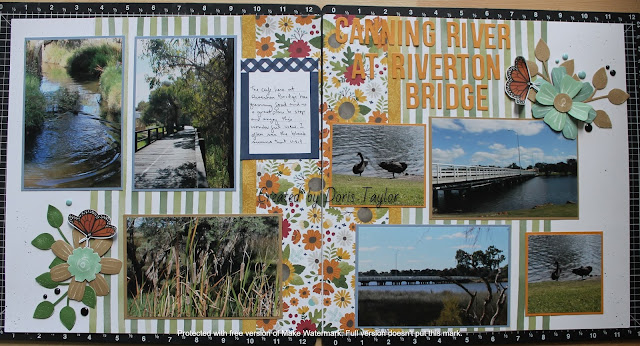
This beautiful spot is only about 10 minutes from where I live and to make it even better there is a lovely cafe there that serves yummy food. It's the perfect spot for a light lunch or afternoon tea with friends. The black swans raise a family here most years. The title is made using the Block Alphabet thin cuts which are still available on clearance for just $44.00. I have cut two of each of the letters to make the title more sturdy.
After cutting lots of different flowers I had a few left over and thought I would make a small box and use one of the flowers as a decoration. I have had this button in my stash since I first joined CTMH and it looks great on the flower. This is a very easy box to make it all it uses one piece of cardstock 11"x4" and a piece of pattern paper 3.5"x8" I have used the new red double sided adhesive tape to make this box and it works a treat. Any 3D project that you use this tape on will definitely not be coming apart. Check out this video for easy to follow instructions Succulent Garden Tent Box - Stampin' Up! UK #1 Demonstrator Sam Hammond (pootles.co.uk)
Please take a moment and leave a comment, they are always appreciated.
Happy crafting!


Love how the dry embossing has added texture to your creations, even as simple as adding the drawn lines and circles with the CTMH dual tip stylus
ReplyDeleteHow clever of you to add texture to your flowers in two different ways. Love this effect, Doris
ReplyDeleteLove your pages - and the embossing on the flowers brings them alive. Thanks for sharing
ReplyDeleteLove the embossing on the flowers. Beautiful
ReplyDelete